
Stay Dry on the Road: Weatherproof Your Box Trailer
DIY Weatherproofing for Box Trailers: Easy & Effective Methods
As adventurers and professionals alike, the importance of a trusty box trailer cannot be overstated—a true workhorse of versatility that, when properly maintained, carries dreams over mountains and through valleys.
Yet, the relentless adversary that is weather looms large, threatening to undermine the integrity of even the most robust trailers.
Equipping your box trailer to weather the storms is not just an act of maintenance but a rite of passage for the road-worn traveller.
From selecting the perfect sealant to mastering the art of water-tight sealing, this guide is your compass to navigating the vast seas of weatherproofing with ease and efficiency.
Keep reading to unlock the secrets of shielding your faithful companion from the elements, ensuring it stands by your side through countless journeys.
Key Takeaways
- Weatherproofing Your Box Trailer Is Akin to Suiting It Up for Battle, Protecting It From the Whims of Nature
- The Choice of Sealant, Whether Silicone or Acrylic, Plays a Pivotal Role in Ensuring the Trailer’s Durability Against the Elements
- Meticulous Cleaning and Preparation of the Trailer’s Surface Are Crucial First Steps in the Weatherproofing Process
- Installing Weather Stripping and Ensuring Proper Drainage Are keys to Keeping Water at Bay
- Regular Maintenance Checks on Seals, Weather Strips, and Protective Coatings Are Vital for the Trailer’s Long-Term Resilience Against Moisture and Wear
Choosing the Right Sealant for Your Box Trailer

Embarking on a journey to fortify your box trailer against the whims of nature is akin to donning a suit of armour; it’s an essential step in preparing for the battlefield that can be the open road.
The cornerstone of this endeavour lies in selecting the perfect sealant, a task that demands not just a keen eye but an understanding of the materials that compose your trusty chariot.
Ensuring compatibility between the sealant and the trailer’s material is not just advisable—it’s imperative.
This stage sets the scene for a showdown between two formidable foes in the realm of durability: silicone and acrylic sealants.
Each brings its own arsenal of benefits to the table, and choosing between them is a pivotal decision that could spell the difference between a fortress on wheels and a sieve on axles.
Identify the Material of Your Trailer for Compatibility
Identifying the material of your box trailer before selecting a sealant is much like a detective piecing together clues to solve a mystery. Each trailer, with its unique composition, requires a matching counterpart in the form of a sealant that not only binds to its surface but also enhances its resistance against the elements. My own trailblazing experiences have taught me the value of this compatibility, ensuring my trailer remains a steadfast companion rather than a liability in the face of nature’s unpredictable moods.
Steel, aluminium, and composite materials each sing a different tune when it comes to their sealing partner. My journey through the landscape of trailer maintenance has revealed that what works for one may spell disaster for another. For instance, using a silicone-based sealant on a metal surface offers a weatherproof fortress, while the same choice could prove less effective on composite materials, inviting moisture rather than repelling it. Thus, the quest for the right sealant demands intimate knowledge of one’s trailer, treating it as a cherished ally in the vast wilderness of the open road.
Compare Silicone vs. Acrylic Sealants for Durability
In my journey through the undulating terrain of DIY trailer maintenance, I’ve danced with both silicone and acrylic sealants, gauging their mettle against the elements. Silicone, with its elasticity, acts much like a seasoned acrobat, bending and flexing to maintain a seal even as the trailer shifts and moves under the burden of the road. This characteristic alone makes it a stalwart guardian against water intrusion, even in the most relentless downpours.
On the flip side, acrylic sealant, serving as the unsung hero in this saga, brings its own charm to the battlefield. It dries harder than silicone, creating a rigid barrier that stands gallantly against the sun’s scorching rays and the relentless assault of airborne pollutants. However, this rigidity means it might crack under the stress of the trailer’s movement, a cautionary tale that reminds me of the importance of matching the sealant’s properties with my trailer’s dynamic life on the road.
Now that we’ve unlocked the secret to choosing the perfect sealant, the real adventure begins. Join me as we embark on a step-by-step journey to masterfully seal those trailer edges and joints!
Step-by-Step Guide to Sealing Trailer Edges and Joints
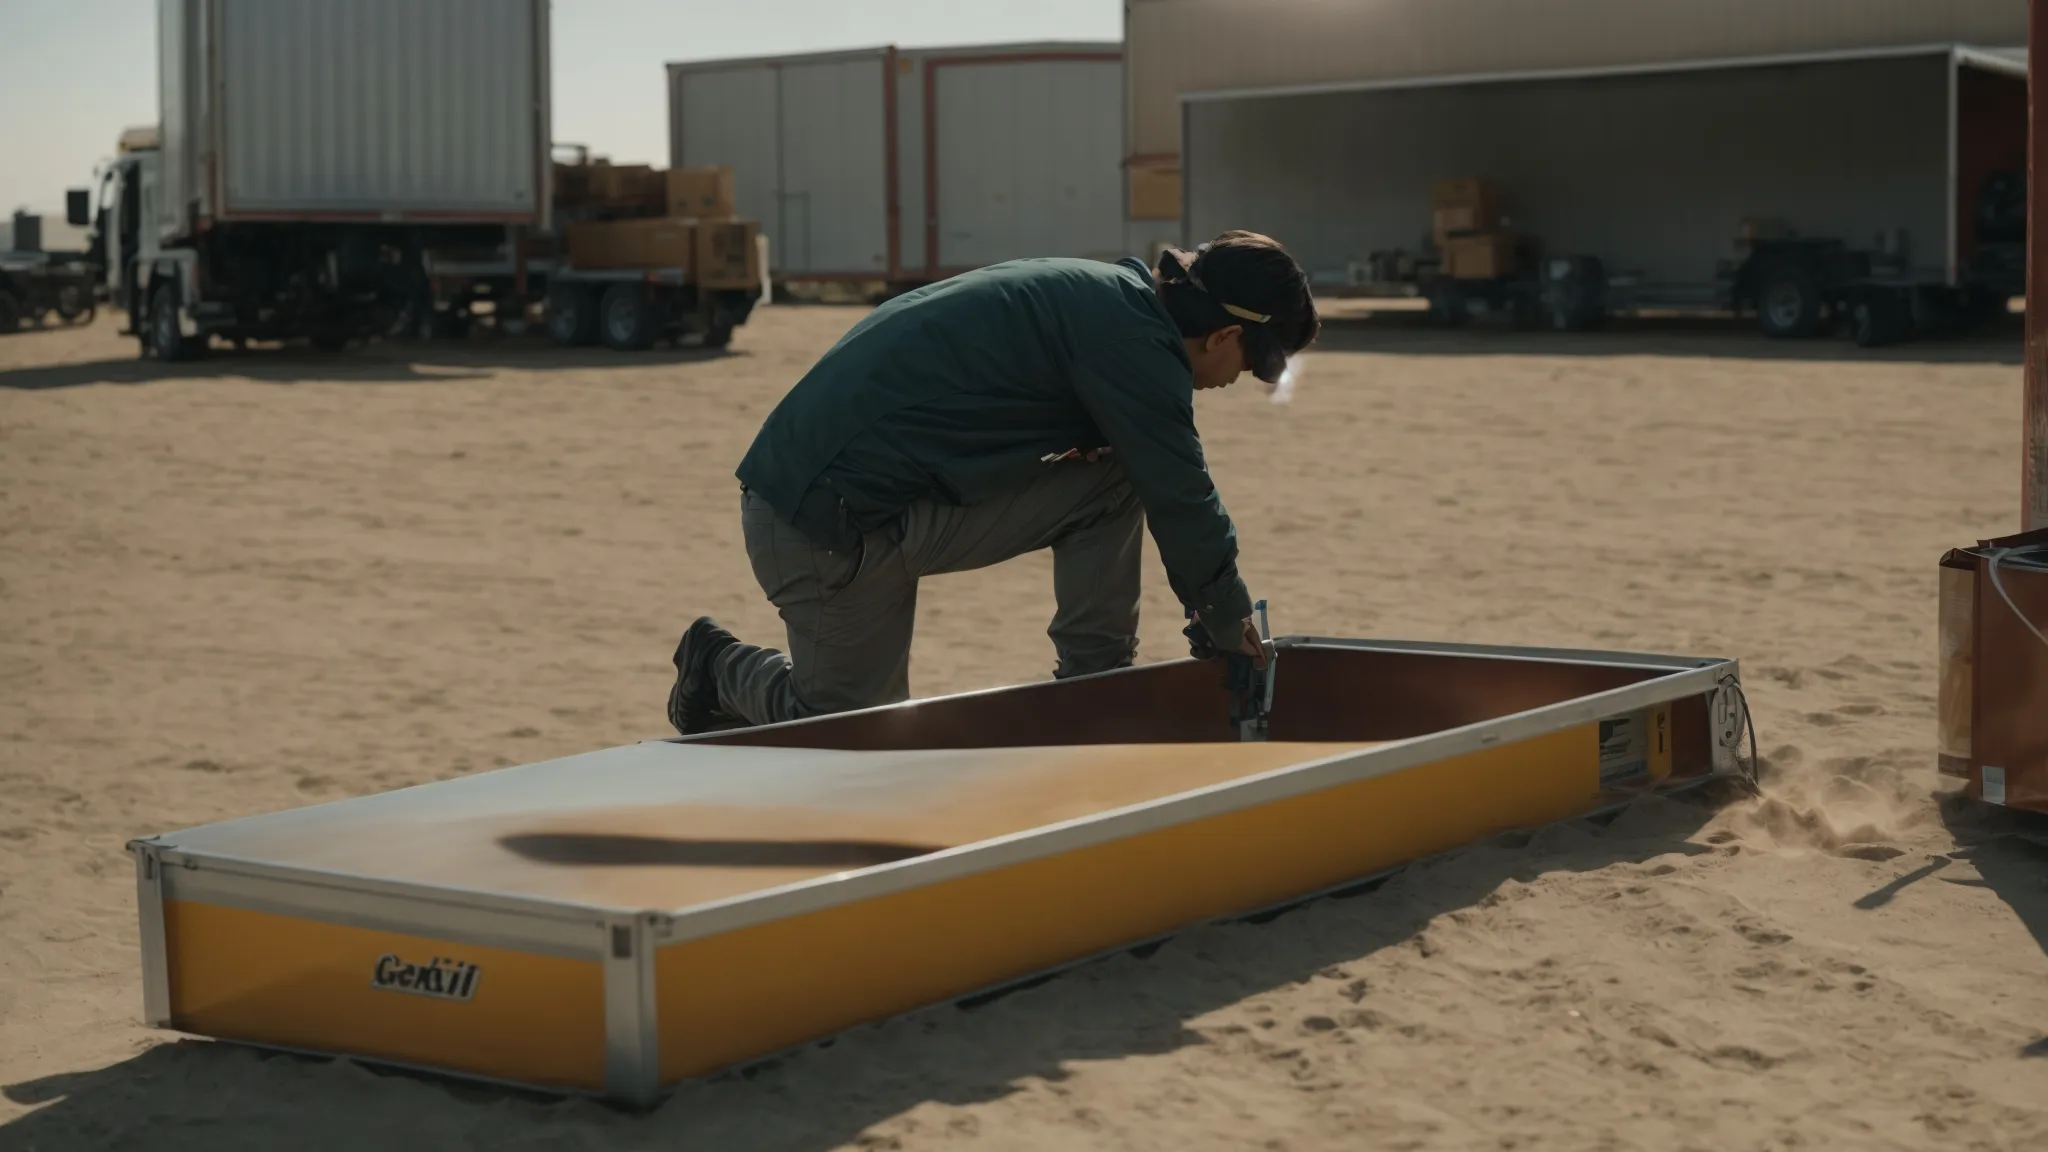
As we delve into the heart of fortifying our box trailers against the elements, the initial step shines with foundational importance—preparing the stage for a formidable seal.
Like an artist priming their canvas, thorough cleaning of the trailer surfaces marks the beginning of a successful weatherproofing journey.
This meticulous preparation ensures that the sealant can perform its magic to the fullest, adhering without hindrance and forming an impenetrable barrier.
Next, the artistry of applying the sealant unfolds, with precision guiding the sealant’s path along the edges and joints.
Here, the steady hand of experience ensures every nook and cranny is covered, leaving no stone unturned in our quest to shield our steadfast companions from nature’s unpredictable temper.
Together, these steps lay the groundwork for a box trailer that stands resilient, a testament to the enduring bond between a diligent owner and their valiant steed of the road.
Cleaning Surfaces Thoroughly Before Application
Before the grand act of weatherproofing begins, the stage must be immaculately set: Cleaning the trailer’s surfaces thoroughly becomes not just a step but a mantra. This prelude ensures that no dust, grime, or residue mar the landscape on which the sealing symphony is to play.
The ritual of cleaning is akin to preparing a canvas for a masterpiece. It demands attention to detail, ensuring that every square inch of the surface is liberated from the clutches of dirt and moisture. Only then can the sealant adhere with unwavering fidelity, promising a future barred against the relentless encroachments of water and air.
| Step | Action | Outcome |
|---|---|---|
| 1 | Clean surfaces thoroughly | A spotless base ready for sealing |
| 2 | Apply sealant meticulously | An impenetrable barrier against elements |
| 3 | Allow proper drying time | A fortified, weatherproof trailer |
Applying Sealant Evenly Along Edges and Joints
With a calm resolve, I approach the next crucial step: the even application of sealant along the edges and joints of my box trailer. It’s a precision task where attention to detail can mean the difference between enduring protection and a fleeting defence against the elements.
Guided by a steady hand, I navigate the sealant’s path, ensuring every inch along the edges and joints is generously coated. This meticulous action is the linchpin in our weatherproofing efforts, sealing the fate of our trailer against the encroachments of water and debris.
| Step | Action | Outcome |
|---|---|---|
| 1 | Ensure even application | Edged and joints shielded |
| 2 | Inspect covered surfaces | No missed spots or gaps |
| 3 | Smooth out excess sealant | Clean, professional finish |
Our journey through the fortress of protection for your trailer continues! Next up, we arm the doors and windows against the elements with skilful weather stripping installation.
Installing Weather Stripping on Doors and Windows

Turning our attention to the doors and windows of our box trailers, we embark on a mission to install weather stripping, an essential fortress against the elements’ relentless siege.
Emboldened by the knowledge that even the smallest gap can usher in unwelcome moisture and drafts, it becomes clear that precision is our ally.
Measuring the openings of doors and windows with meticulous care sets the stage for the bespoke cutting of weather stripping, ensuring that each piece fits as though it were destiny itself.
Firmly attaching these guardians at the thresholds of our trailers not only promises a bulwark against weather but also speaks to a dedication to preserving a dry and secure interior haven.
Measuring Door and Window Openings Accurately
In the labyrinth of DIY weatherproofing, accurately measuring the openings of doors and windows is the cypher that unlocks true fortress-like protection. It begins with a tape measure in hand, a keen eye, and the patience of a sculptor, ensuring that every millimetre is accounted for, laying the foundation for weather stripping that fits as snugly as a glove.
This step is the crucible from which the efficacy of our weatherproofing efforts emerges. Misstep here and you’re left with gaps that invite the elements in like unbidden guests to a feast. Thus, I approach this task as an artisan with precision and care, knowing that in these measurements rests the bastion of our battle against the weather’s capricious whims.
Cutting Weather Stripping to Size and Attaching Firmly
With the sentinel-like vigilance of a guardian, I embark on the task of cutting the weather stripping to its destined size. This step, while seemingly straightforward, harbours the heart of precision, demanding that each cut align perfectly with the measurements taken, ensuring the stripping envelops each door and window like a tailor-made suit, impervious to the whims of weather.
Attaching the weather stripping firmly into place is akin to setting the final stone in a protective wall. Under my watchful eye, each piece is secured, ensuring that neither draft nor droplet can penetrate the sanctum of my trailer. It’s a process that speaks not just to the physical action of adhering to weather stripping but also to the pledge of safeguarding my vessel against the elements with unwavering commitment.
With our doors and windows sealed tight against the elements, it’s time to armour up the metal parts. Protective coatings await, ready to battle against rust and corrosion!
Adding Protective Coatings to Prevent Rust and Corrosion

In the odyssey of safeguarding our box trailers from the relentless advance of the elements, we gaze upon an adversary as ancient as time itself—rust and corrosion.
These silent saboteurs, left unchecked, can transform a steadfast companion into a brittle shadow of its former glory.
Thus, arming ourselves with protective coatings emerges as a critical front in this ongoing battle.
Venturing into this realm, the choice of a rust inhibitor befitting the very essence of our trailer’s material beckons with the gravity of a knight selecting their armour.
The meticulous application of this coating, with the precision of a painter under the watchful eye of daylight, not only fortifies our trailers but does so in a manner that marries durability with grace.
The sanctity of proper ventilation during this process whispers of a commitment to efficacy, ensuring the longevity of our cherished conveyances against the tyranny of rust and corrosion.
Selecting a Rust-Inhibitor Suitable for Your Trailer’s Material
In my quest to shield my box trailer from the relentless embrace of rust and corrosion, understanding the material of my trusted steed became paramount. Steel trailers, with their proud but vulnerable hearts, beckon for a rust-inhibitor that can penetrate deeply, warding off oxidation with a tenacious grip.
Aluminum trailers, however, sing a different tune, one of resilience yet a susceptibility to corrosion if neglected. For these, I sought a rust inhibitor specialised for aluminium, one that offers protection without compromising the material’s integrity, preserving its lightweight advantage while fortifying its stance against the elements.
Apply Coating Smoothly With Proper Ventilation
In my endeavours to ward off the spectres of rust and corrosion from my beloved box trailer, the smooth application of the protective coating became a rite of passage. Ensuring each stroke of the brush or spray was even, I transformed the surface into a smooth canvas, a veritable shield against decay. The task, executed with precision, resonated with the meticulousness of a skilled artisan at work.
Amidst this careful application, proper ventilation emerged as a silent guardian, crucial yet often overlooked. By drawing fresh air into the working space, I mitigated the risk of inhaling potentially harmful fumes while also ensuring the swift drying of the coating. This harmonious balance between applying the coating smoothly and maintaining a well-ventilated area underscored an unwavering commitment to both the trailer’s longevity and my well-being.
Armoured against the relentless siege of rust and corrosion, our trailers stand unwavering. Yet, the battle against nature’s elements rages on, steering us towards mastering the art of preventing water accumulation.
Ensuring Proper Drainage to Avoid Water Accumulation

As I venture further into the task of fortifying my box trailer against the elements, I recognise a silent adversary often overlooked: water accumulation.
This enemy, subtle yet persistent, seeks out every nook and cranny, waiting for an opportunity to erode our defences from within.
Identifying areas prone to water pooling becomes a mission not dissimilar to charting a map of potential battlegrounds; each spot marks a critical point of fortification.
By addressing these vulnerabilities through the installation of drainage solutions or making tilt adjustments, I embark on an essential step towards comprehensive weatherproofing.
It’s an endeavour that demands precision, ingenuity, and a steadfast commitment to maintaining the integrity of my fortress on wheels.
Identifying Areas Prone to Water Pooling in Your Trailer
Embarking on the task of identifying areas prone to water pooling in my box trailer signalling the start of a meticulous exploratory endeavour. Each section of the trailer, from the flatbed to the corners where walls meet the floor, demanded a keen eye—a sentinel on the lookout for potential breaches in our fortress’s defences.
In this quest, the understanding that water, much like an uninvited guest, finds its way into the slightest openings or depressions became my guiding principle. Marking these areas not only illuminated the battleground but also paved the way for targeted interventions:
- Inspecting the trailer’s floor for any signs of sagging or depressions where water could settle.
- Checking around the seals of doors and windows for any gaps that could allow water ingress.
- Evaluating the external corners and joints for proper sealant integrity, which could compromise water resistance.
Armed with this knowledge, I prepared myself for the task ahead: the diligent application of solutions to each identified challenge, ensuring the longevity and dryness of my mobile base.
Installing Drainage Solutions or Tilt Adjustments as Needed
As I delved into the crucial task of installing drainage solutions, it became evident that this was the cornerstone of averting the silent threat of water accumulation. I turned my focus towards devising a system that not only effectively channelled water away from my box trailer but did so with an elegance that belied its utilitarian purpose.
My journey led me to explore tilt adjustments, a nuanced approach that embraced the laws of gravity to guide water away naturally. By meticulously adjusting the trailer’s tilt, I ensured that water preferred the path of least resistance, away from my precious cargo.
| Step | Action | Outcome |
|---|---|---|
| 1 | Install drainage solutions | Effective water channelling |
| 2 | Adjust trailer’s tilt | Natural water diversion |
The process, though technical, captivated me with its blend of simplicity and sophistication, marking a pivotal moment in my mission to weatherproof my box trailer. It underscored the importance of marrying knowledge with action, ensuring my trailer remained steadfast against the tireless pursuit of water.
As we steer away from the perils of water accumulation, the next chapter of our adventure unfolds. Gear up for the wisdom of longevity in weatherproofing that awaits.
Regular Maintenance Tips for Long-Lasting Weatherproofing
Embarking on the mission to secure my box trailer against the volatile moods of nature has been an odyssey of both discovery and vigilance.
Yet, the initial application of weatherproofing measures is but the first chapter in an ongoing saga.
The true longevity of our efforts hinges on regular maintenance—a routine as crucial as the turning of the seasons.
Thus, keeping a keen eye on the integrity of seals, the firmness of weather strips, and the uniformity of protective coatings emerges as an indispensable practice.
It’s a commitment that not only ensures the enduring resilience of our trailer but also fortifies our peace of mind, mile after mile.
Checking Seals, Strips, and Coatings Periodically
Embracing the rhythm of routine checks on my box trailer’s seals, weather strips, and protective coatings has become a cornerstone of my maintenance regimen. This vigilant practice serves as my shield against the clandestine advances of moisture and wear, ensuring each component remains as robust as the day it was applied.
| Component | Check Frequency | Key Observation Points |
|---|---|---|
| Seals | Bi-monthly | Cracks, peeling, or gaps |
| Weather Strips | Quarterly | Adhesion loss, wear, or deformation |
| Protective Coatings | Annually | Uniformity, chips, or rust spots |
The disciplined pursuit of conducting these periodic evaluations not only reveals any potential vulnerabilities but also instills a sense of assurance in the weatherproofing measures I’ve taken. It transforms what could be seen as a mere chore into an empowering ritual, safeguarding my box trailer’s longevity against the relentless elements.
Conclusion
DIY weatherproofing for box trailers plays a crucial role in ensuring these vehicles withstand the vagaries of the elements, preserve their integrity, and extend their service life.
By carefully selecting the appropriate sealants, such as silicone or acrylic, based on the trailer’s material—be it steel, aluminium, or composites—owners can create a resilient barrier against moisture and air intrusion.
The meticulous application of these sealants, along with the strategic installation of weather stripping and protective coatings, fortifies the trailer against common adversaries like rust, corrosion, and water accumulation.
Moreover, the emphasis on regular maintenance, including periodic checks of seals, strips, and coatings, underscores the long-term commitment required to maintain this protective shield.
Embarking on DIY weatherproofing not only enhances a trailer’s durability but also solidifies the owner’s peace of mind through each mile travelled.
Author
How to Mount a Spare Tire on Your Trailer: A Simple Step-by-Step Guide
Trailer service centers receive over 1 million phone calls and 1.3 million emails each year about trailer maintenance problems....

How to Fix RV Roof Leaks: Simple Roof Leak Detection Guide for Beginners
Did you know DIY RV roof repairs can cost under $50? But undetected leaks could lead to substantially higher repair...

Starting a Food Truck Business in Australia: From Trailer Selection to Launch
The Australian mobile food market has evolved into a billion-dollar industry. This makes a food truck...
