
How to Mount a Spare Tire on Your Trailer: A Simple Step-by-Step Guide
Trailer service centers receive over 1 million phone calls and 1.3 million emails each year about trailer maintenance problems. These numbers show just how many trailer owners need help with their equipment!
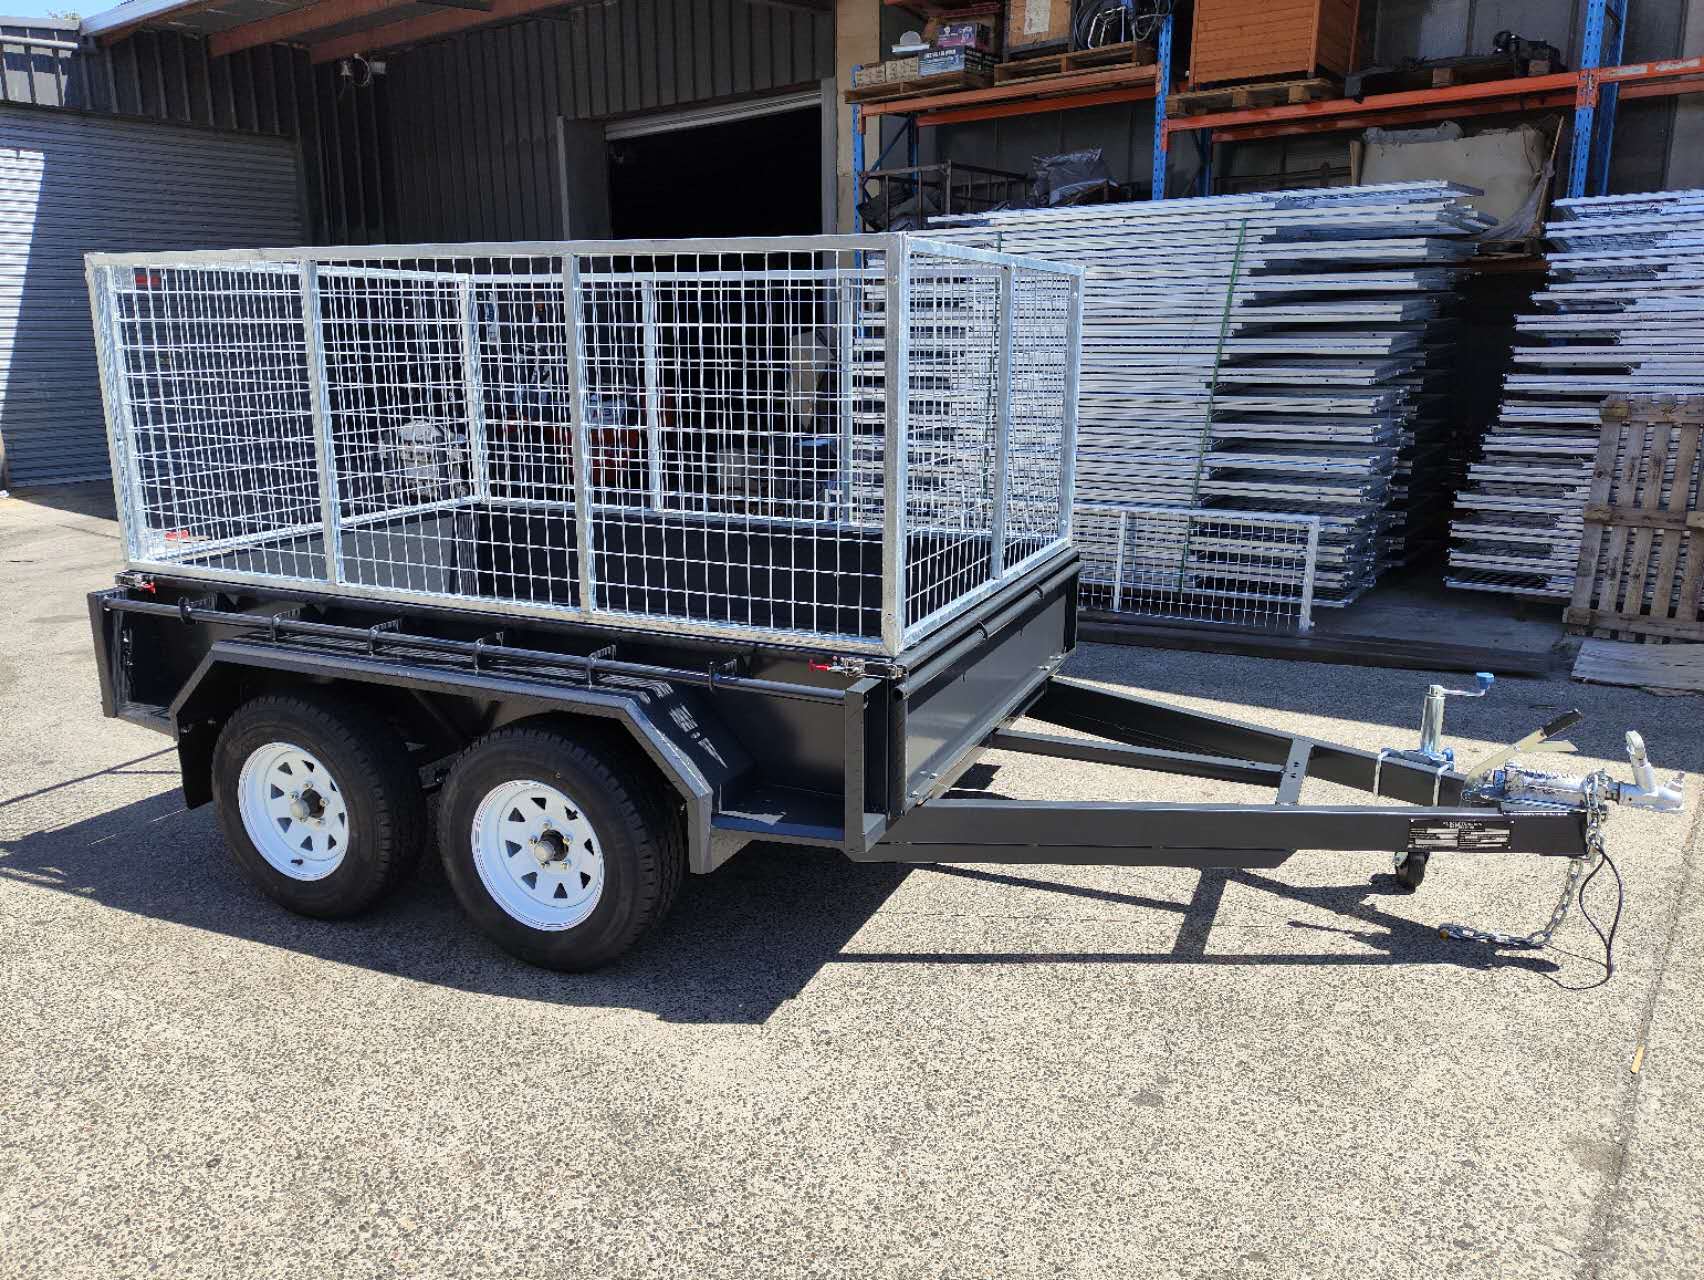
A backup tire with proper mounting gives you peace of mind when you’re thinking about a trailer spare tire mount or different carrier options for your utility trailer. Secure mounting becomes vital since tandem axle trailers can put 1,000 pounds of weight per tire.
Several safe mounting options exist for your spare tire. The CE Smith Spare Tire Carrier offers an affordable solution at $16.94, while creative DIY enthusiasts prefer E-track mounts. Your trailer’s specific setup should determine the best method.
This piece provides clear mounting options and simple instructions to help you install your trailer’s spare tire mount. Your trailer will be ready to handle any situation with the right setup!
Understanding Trailer Spare Tire Mount Options
The perfect trailer spare tire mount depends on understanding what’s available in the market today. Manufacturers create a variety of carrier types that work with specific trailer configurations.
Different types of spare tire carriers
Trailer spare tire carriers attach in several ways:
- Tongue mounts – Constructed with heavy-duty, welded steel plates that bolt directly to your trailer tongue, keeping the spare neatly out of the way
- Frame mounts – Attach to the trailer frame using U-bolts or carriage bolts
- Wall mounts – Designed for enclosed trailers with pre-drilled holes for 16″ on-center wall studs
- Tailgate/rear mounts – Popular for pickup trucks and SUVs with rear doors
- Undercarriage mounts – Systems like the ‘Hide-A-Spare’ allow mounting beneath the trailer
Matching carriers to your trailer type
Your trailer’s structure plays a vital role in choosing the right carrier. The CE Smith Spare Tire Carrier (part #CE22007Z-11050-2) works great with utility trailers that have angle iron frames, even though most frame mounted carriers aren’t designed for angle iron.
Aluminum frame trailers need specialized carriers. These usually feature reinforced steel plate construction with zinc plating to fight off corrosion. Most carriers can adjust to fit both 4 and 5 lug wheels, which makes them useful with different trailer setups.
PJ utility trailers work well with the Ready Rail® system. This lets you mount spare tires at any upright position quickly. On top of that, some carriers offer multiple mounting options for different frame materials. They can handle tubes up to 4″x4″, pipes up to 2-3/8″, channels up to 3″x4″, and angles up to 3″x4″.
Weight and size considerations
Your tire’s size and weight should guide your mount selection. While many carriers don’t list weight limits, the Stromberg Carlson carrier has proven itself through tests covering 100,000 miles with 50 lb tires (225/75R15).
These carriers fit wheel sizes from 8″ to 15″ tires, with adjustable bolt patterns for 4, 5, 6, and 8-lug wheels. Rear-mounted spares add weight that might affect your trailer’s balance and cause handling problems.
The safest solution for existing trailers often involves positioning the spare in front of the axle on one side. Ground clearance becomes important too – you’ll need enough space to protect your tire from road debris damage.
Mounting a Spare Tire on Your Trailer Tongue
A trailer’s tongue makes the most practical spot to mount your spare tire. This popular choice keeps your spare secure and available while your trailer works as intended.
Benefits of tongue mounting
Your spare tire sits up and away from the trailer bed when mounted on the tongue, so it frees up valuable floor space for cargo. You can access the tire quickly when needed while keeping it safely in place. The tongue mount lets you load and unload utility trailers without any interference from the spare.
The tongue mounts also act as mechanical protection for tongue boxes, which helps prevent theft. A properly positioned tongue-mounted spare won’t affect your trailer’s payload or how it tows.
Required tools and materials
Here’s what you’ll need to get the job done:
- Trailer tongue spare tire carrier (fits tongues up to 3″ wide and 5″ high)
- Two U-bolts with washers and nylock nuts
- Rubber pad spacer (approximately 6″x6″x3mm thick)
- 3/4″ deep socket and wrench
- Wheel chocks
- Jack stands or supports
Step-by-step installation process
- Park your unloaded trailer on flat ground and secure it with wheel chocks.
- Lift the trailer tongue and support it with two stands, one on each side.
- Place the mounting bracket against the trailer tongue’s side where you want the carrier.
- Mount the spare tire to the carrier before tightening for easier handling.
- Put the U-bolts through the mounting brackets as close to the trailer tongue as possible.
- Add washers and nylock nuts, then tighten them to 90 ft. lbs with a torque wrench.
- Attach the tire to the carrier using carriage bolts through the wheel lug holes.
Ensuring proper clearance
Safe operation depends on proper clearance. Your spare tire needs enough ground clearance to avoid hitting the road, curbs, and other obstacles. Make sure you leave enough space between the spare tire and your towing vehicle, especially during turns and backing up.
The passenger side often works better for tongue-mounted spares since it keeps the driver’s side clear for easier trailer access. Double-check that nothing interferes with the trailer jack or electrical connections before you finish the installation.
Installing a Frame-Mounted Tire Carrier
Frame mounting gives you great flexibility to secure your spare tire to trailers of all types. Your spare tire carrier can be positioned at multiple points along the trailer’s structure, unlike tongue mounts.
Selecting the right location on your trailer frame
Your trailer’s design and usage determine the best spot for a trailer spare tire mount. The carrier fits anywhere along the frame, though experts recommend placing it as far back from the coupler as possible without getting in the way of other parts. This setup helps spread the weight better.
Most owners mount their spare on the passenger side just ahead of the fender. This spot makes the tire easy to check while keeping it safely above the ground. The tire needs at least 5 inches of ground clearance to avoid damage from road hazards.
Installation steps for angle iron frames
Carriers like the CE Smith Spare Tire Carrier (part #CE22007Z-11050-2) work great with angle iron frames. Here’s how to install it:
- Mark your drill holes by using the carrier as a template on the frame.
- Make four 9/16″ holes through the frame where marked.
- Aluminum frames need cloth-type duct tape on contact surfaces to stop galvanic corrosion.
- Put the carrier against the frame and line up the mounting holes.
- Place the mounting plate on the frame’s opposite side.
- Start with hand-tight nuts before final tightening.
The Angle Iron Spare Tire Carrier works with angle iron frames that are 11 gage or thicker and 1.5″ to 2″ wide.
Securing the spare tire properly
A properly secured spare tire will stay put during your travels:
- Put carriage bolts through rectangular plate holes with bolt heads behind the tire carrier.
- Add “star” washers to lock the bolts in place.
- Check clearance before tightening all nuts and bolts fully.
- A cable lock woven through the metal frame and wheel adds extra security.
- Anti-seize compound on threads prevents corrosion and makes future removal easier.
Wall and Rear Door Mounting Solutions
Wall and door mounting gives you flexible options to secure your spare in enclosed trailers while maximizing usable space. These mounting options differ by a lot from tongue and frame mounts in both setup requirements and weight factors.
Interior vs. exterior wall mounting
Your spare tire stays protected from harmful UV rays with interior wall mounting, which helps extend its life. Several manufacturers make wall-mounted trailer spare tire carrier options built specifically for enclosed trailers:
- Pivoting brackets fold downward when not used to save valuable interior space
- Fixed mounts keep the tire flush against the wall
- Adjustable systems with aluminum channels fit tires from 10″ to 15
Exterior wall mounting needs more resilient construction but lets you access the tire without entering the trailer. Notwithstanding that, these mounts leave the tire exposed to weather and possible theft, making them less suitable for storing long-term.
Reinforcing wall mounts for safety
Weight distribution is vital for wall-mounted spares. Many manufacturers list these weight limits:
- Some carriers clearly state the tire must rest on the floor since the mount can’t hold the full weight
- Better-quality mounts made of heavy-duty steel can hold up to 120-150 lbs
- Pre-drilled holes made for 16″ on-center wall studs help spread the weight properly
The bracket won’t pull free if you mount it to multiple wall studs. Reinforced designs with multiple mounting points work better than thin sheet metal alone.
Rear door mounting techniques
You need to think carefully about mounting a spare tire carrier on your trailer’s rear door:
- Put the mount near door hinges to spread weight better
- Check if door hinges can handle the extra weight
- Use proper backing plates or washers to spread pressure across the door surface
- Think about how it affects door operation and clearance
Door mounting works well in many cases, but some experts warn about door damage from impacts and hinges wearing out over time. Under-carriage mounts or special bumper attachments might work better since they don’t risk damaging the door.
Conclusion
Your trailer’s spare tire needs proper mounting to ensure safety and convenience. You can choose the best solution for your setup by thinking over various mounting spots – the tongue, frame, wall, or door.
The tire’s weight distribution makes a big difference in your choice. A good mounting spot should keep enough ground clearance and make the tire available when you need it. The right location will also shield your spare from weather damage and theft.
A soaring win comes from proper installation steps and the right tools for your mount type. Take time to strengthen mounting points and verify all connections. This approach will keep your spare tire secure during travel and give you peace of mind throughout your experience.
FAQs
Q1. What are the different options for mounting a spare tire on a trailer? There are several options for mounting a spare tire on a trailer, including tongue mounts, frame mounts, wall mounts for enclosed trailers, and rear door mounts. Each option has its advantages depending on the trailer type and your specific needs.
Q2. How do I ensure proper weight distribution when mounting a spare tire? To ensure proper weight distribution, consider mounting the spare tire in front of the axle on one side of the trailer. For wall mounts, use reinforced designs with multiple mounting points and attach to wall studs when possible. Always verify that the chosen location can support the tire’s weight.
Q3. What tools do I need to mount a spare tire on my trailer tongue? To mount a spare tire on your trailer tongue, you’ll need a trailer tongue spare tire carrier, U-bolts with washers and nylock nuts, a rubber pad spacer, a 3/4″ deep socket and wrench, wheel chocks, and jack stands or supports.
Q4. How much ground clearance should I maintain for a trailer spare tire? It’s important to maintain at least 5 inches of ground clearance for your trailer’s spare tire. This helps prevent damage from road obstacles and ensures safe operation during travel.
Q5. Can I mount a spare tire on my trailer’s rear door? While it’s possible to mount a spare tire on a trailer’s rear door, it requires careful consideration. Position the mount near door hinges for better weight distribution, verify that the hinges can support the additional weight, and use proper backing plates. However, some experts caution against door mounting due to potential door damage and hinge wear over time.
Author
I am Rahatul Ashiq Tamal. Another author of Muscle Trailers. Muscle Trailers is a well-known trailer brand in Sydney, Melbourne & Adelaide

How to Fix RV Roof Leaks: Simple Roof Leak Detection Guide for Beginners
Did you know DIY RV roof repairs can cost under $50? But undetected leaks could lead to substantially higher repair...

Starting a Food Truck Business in Australia: From Trailer Selection to Launch
The Australian mobile food market has evolved into a billion-dollar industry. This makes a food truck...
Box Trailers vs Flatbed Trailers: Which Gives More Value in 2025?
The choice between box and flatbed trailers can greatly affect your investment's long-term value. Box trailers deliver impressive capabilities. Top...